


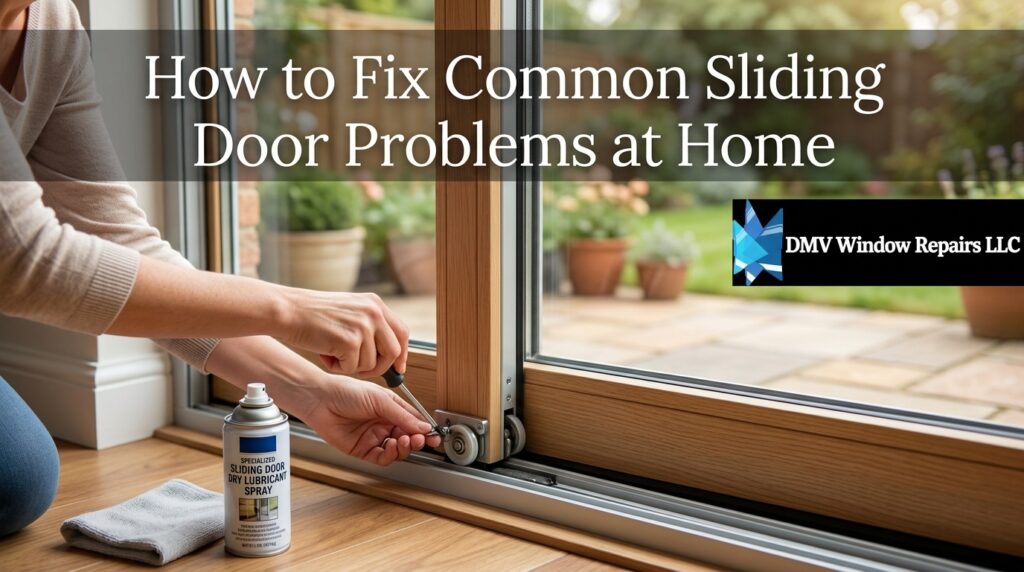
Sliding doors provide convenient access to patios, decks, and gardens while bringing natural light into living spaces. Over time, however, common issues like sticking, dragging, misalignment, difficult operation, drafts, and noisy movement can make them frustrating to use. Many of these problems stem from dirt buildup, worn rollers, misadjusted hardware, or frame settling—issues that homeowners can often resolve without full replacement.
Fixing sliding door problems restores smooth, quiet, effortless gliding that enhances daily comfort and accessibility. Basic tools, simple cleaning supplies, and a bit of patience usually suffice for most repairs. Addressing issues promptly prevents minor annoyances from escalating into costly damage or safety hazards. Regular maintenance keeps doors performing like new for years longer. This guide walks through the most frequent problems step by step with practical, proven solutions.
Understanding Why Sliding Doors Develop Problems
Sliding doors operate on rollers that ride along a track, bearing the full weight of heavy glass panels. Dirt, leaves, pet hair, pollen, and moisture constantly accumulate in the track, increasing friction dramatically. Rollers wear down after thousands of cycles, flattening or seizing and causing the door to drag or bind. Frames shift slightly as houses settle over decades, throwing alignment off and creating rubbing or gaps.
Weatherstripping compresses, hardens, or tears, allowing drafts and reducing energy efficiency. Handles and locks stiffen from lack of lubrication or corrosion. These factors combine to turn smooth operation into a daily struggle. Most problems appear gradually, so early intervention keeps repairs simple and inexpensive.
Dirt and Debris Buildup
The lower track acts like a magnet for outdoor contaminants year-round. Sand, small stones, dried leaves, and sticky pollen embed deeply between rollers. Moisture mixes with grime to form a grinding paste that accelerates wear. Vacuuming alone often misses hidden buildup under rollers. Thorough cleaning removes resistance and extends component life significantly. Ignoring debris leads to premature roller failure and track damage.
Worn or Damaged Rollers
Rollers typically feature nylon or steel wheels with ball bearings that wear after 10–20 years of use. Flat spots develop from constant pressure and friction. Seized bearings cause jerky or impossible movement. Worn rollers tilt the door forward, scraping the bottom edge along the track. Replacement restores original glide and prevents further damage to frames and glass.
Misaligned Frames and Tracks
House settling, temperature expansion, or improper original installation causes frames to go out of plumb. Misalignment makes the door rub on one side while creating gaps on the other. Rollers shift out of optimal position, carrying uneven load. Binding increases effort required and accelerates hardware wear. Realignment corrects these issues and ensures even weight distribution.
Essential Tools and Materials for Repairs
Basic repairs require few specialized items found in most home toolkits. A shop vacuum with narrow attachments extracts deep track debris effectively. Silicone-based lubricant formulated for outdoor use prevents future sticking without attracting more dirt. Adjustable wrenches and screwdrivers adjust roller height screws precisely. Replacement rollers match door brand and size for perfect fit. Cleaning brushes, mild soap, and microfiber cloths remove grime safely. A level checks frame plumb and track flatness accurately. Optional items include threshold reducers, new weatherstripping, and anti-lift pins for enhanced performance.
Safety Precautions Before Starting
Always support heavy glass panels securely when lifting or removing them. Wear gloves to protect hands from sharp edges or dirty tracks. Disconnect any smart lock or alarm sensors before working. Work during daylight with good visibility to spot small parts. Keep children and pets away from the work area. Test door operation gently after each adjustment to avoid over-tightening.
Step-by-Step Guide to Cleaning Tracks
Begin by opening the door fully to access the entire track length. Vacuum loose debris using a narrow crevice tool, reaching under rollers where possible. Mix mild dish soap with warm water and scrub the track with a stiff brush. Pay special attention to corners and roller channels where buildup concentrates. Wipe away soap residue with a damp cloth followed by a dry microfiber towel. Lubricate rollers and track lightly with silicone spray after everything dries completely. Test sliding action—clean tracks alone often resolve 50% of sticking issues.
Removing and Cleaning Rollers
Most sliding doors have adjustment screws accessible from the bottom edge or through small access holes. Lower the door fully using these screws to create clearance. Tilt the panel inward carefully and lift it out of the top track. Place the heavy panel on a padded surface to avoid scratches. Remove old rollers by unscrewing mounting brackets or pulling them from slots. Clean roller wheels and axles thoroughly with degreaser and a brush. Inspect bearings for roughness or flat spots indicating replacement need.
Replacing Worn Rollers
- Purchase exact-match replacement rollers from the door manufacturer or reputable suppliers.
- Measure original roller diameter, width, and mounting style carefully. Install new rollers into brackets, ensuring they spin freely without binding.
- Reinsert the panel into the top track first, then lower into the bottom track.
- Adjust height screws so the door clears the track by about 1/8 inch evenly along the length.
- Test operation multiple times, fine-tuning adjustments for smooth, quiet gliding.
- Proper roller replacement typically restores near-new performance immediately.
Adjusting Roller Height for Alignment
Use a screwdriver to turn adjustment screws clockwise to raise or counterclockwise to lower each roller. Aim for even clearance across the door bottom—usually 1/16 to 1/8 inch above the track. Check plumb with a level on the door edge. Adjust opposite rollers in small increments to avoid tilting. The door should slide effortlessly without scraping or excessive play. Proper alignment eliminates rubbing noises and reduces strain on hardware.
Fixing Stiff or Hard-to-Turn Handles
Handles stiffen from dried lubricant, corrosion, or internal mechanism wear. Spray silicone lubricant into handle crevices and work the mechanism repeatedly. For multi-point locks, lubricate all extending points visible along the door edge. If stiffness persists, remove the handle escutcheon plate to access internals. Clean and re-lubricate pivot points and linkages inside. Replace worn handles with ergonomic models offering better grip and smoother action. Most handle issues resolve with cleaning and fresh lubrication.
Lubricating Multi-Point Lock Systems
Multi-point locks feature rods or hooks engaging at top, middle, and bottom. Apply light oil or dry lubricant to all moving parts along the lock channel. Work the handle fully open and closed several times to distribute lubricant evenly. Avoid heavy greases that attract dirt over time. Regular lubrication keeps mechanisms operating smoothly for thousands of cycles.
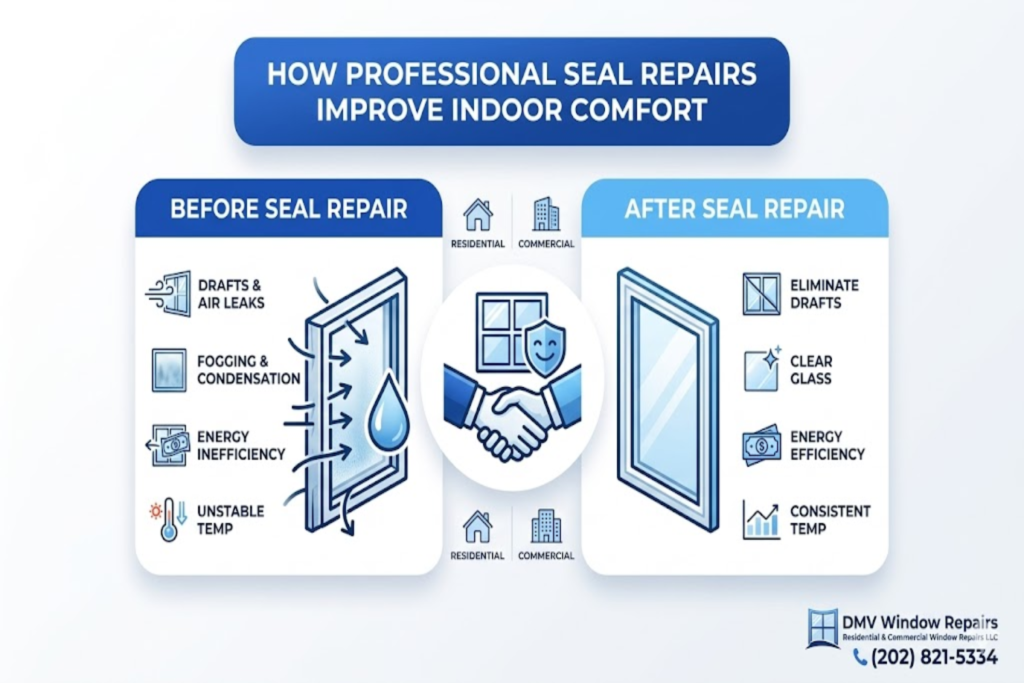
Addressing Drafts and Air Leaks
Drafts occur when weatherstripping compresses, hardens, or pulls away from frames. Inspect perimeter seals for gaps, cracks, or brittleness. Remove old, damaged strips by pulling gently or using a flat tool. Clean surfaces thoroughly before applying new adhesive-backed weatherstripping. Choose high-quality EPDM or silicone types for durability and flexibility. Press firmly along the entire length for a tight seal. Caulk any remaining gaps around the frame exterior with exterior-grade sealant.
Replacing Threshold Seals
Threshold sweeps or gaskets often wear first due to foot traffic and weather exposure. Remove old sweep by unscrewing or sliding it out. Measure and cut new sweep to exact width. Install with provided screws or adhesive, ensuring firm contact with the door bottom. Test closing action—proper sweep eliminates floor-level drafts effectively.
Fixing Noisy or Rattling Doors
Rattling stems from loose hardware, worn rollers, or inadequate panel pressure against seals. Tighten all visible screws in frames, tracks, handles, and rollers. Replace worn rollers if play exists even after tightening. Adjust rollers to increase slight pressure against weatherstripping without binding. Install anti-rattle shims or bumpers if needed. Lubricate all contact points to reduce vibration noise. Quiet operation returns with these combined adjustments.
Preventing Future Noise Issues
Regular lubrication and tightening prevent loosening over time. Keep tracks clean to avoid debris causing vibration. Use soft-close mechanisms if available for gentler operation. Monitor for early signs of wear and address promptly. Consistent care keeps doors quiet and smooth indefinitely.
| Problem | Primary Cause | Step-by-Step Fix Method | Tools Needed | Difficulty Level | Time Required | Approximate Cost | Prevention Tip |
| Door Sticks / Hard to Slide | Dirt buildup + worn rollers | Vacuum track, scrub, lubricate, replace rollers | Vacuum, brush, lubricant, screwdriver | Medium | 1–3 hours | $50–$250 | Clean track monthly |
| Door Drags on Bottom | Rollers too low or worn flat | Raise adjustment screws, replace if needed | Screwdriver, level, new rollers | Medium | 1–2 hours | $40–$150 | Check roller height yearly |
| Door Misaligned / Rubs | Frame settling or improper adjustment | Realign rollers, shim frame if necessary | Level, shims, wrench | Medium-High | 2–4 hours | $20–$100 | Monitor house settling |
| Stiff Handle / Lock | Lack of lubrication, corrosion | Lubricate mechanism, clean internals, replace handle | Lubricant, screwdriver, pliers | Low-Medium | 30 min–2 hrs | $30–$200 | Lubricate twice yearly |
| Drafts / Air Leaks | Worn weatherstripping, gaps | Replace perimeter seals, caulk frame | Weatherstripping, caulk gun | Low-Medium | 1–3 hours | $40–$150 | Inspect seals annually |
| Noisy / Rattling | Loose screws, inadequate pressure | Tighten hardware, adjust rollers, add bumpers | Screwdriver, lubricant, shims | Low | 30 min–2 hrs | $10–$80 | Tighten screws seasonally |
| Door Lifts Out Easily | No anti-lift pins or worn guides | Install anti-lift devices, replace guides | Anti-lift kit, screwdriver | Medium | 1–3 hours | $50–$200 | Add anti-lift during repairs |
| Fogging Between Panes | Failed insulated glass seal | Replace entire insulated glass unit | Professional service recommended | High | 4–8 hours | $300–$1,200 | Choose quality units initially |
When to Call a Professional
Complex issues like severe frame damage, broken glass, failed insulated seals, or structural settling often require expert intervention. Professionals have specialized tools for safe panel removal and precise realignment. They source exact-match parts quickly and efficiently. Warranty work or insurance claims usually demand certified service. Attempting advanced repairs without experience risks injury or further damage. Professionals complete jobs faster with guaranteed results.
Woodbridge VA homeowners frequently resolve basic sliding door issues with DIY methods before calling local experts for advanced fixes.
Routine Maintenance Schedule
Vacuum and wipe tracks monthly to prevent debris accumulation. Lubricate rollers and mechanisms twice yearly with silicone spray. Inspect weather stripping annually for wear or hardening. Tighten all visible screws seasonally. Test door alignment and operation every six months. Clean glass surfaces with ammonia-free cleaner regularly. Schedule professional inspection every 2–3 years for comprehensive check-up.
Woodbridge VA residents maintain smooth door operation year-round with consistent seasonal care routines.
Woodbridge VA benefits from proactive maintenance that extends door life significantly.
Woodbridge VA properties see fewer repair needs when owners follow simple preventive steps diligently.
Conclusion
Fixing common sliding door problems restores effortless operation, eliminates frustration, improves energy efficiency, and enhances home accessibility. Cleaning tracks, replacing worn rollers, adjusting alignment, lubricating hardware, and sealing gaps address the majority of issues homeowners face. These repairs cost far less than full replacement while delivering immediate, noticeable improvements.
Regular maintenance prevents recurrence and keeps doors functioning smoothly for decades. Most fixes require only basic tools and straightforward steps that confident DIYers can handle successfully. Professional help remains available for complex or structural concerns. With proper care and timely repairs, sliding doors continue serving as reliable, attractive features that connect indoor comfort with outdoor living seamlessly.
Frequently Asked Questions
1. Why does my sliding door stick even after cleaning the track?
Worn or flattened rollers often cause sticking despite clean tracks. Replace rollers to restore smooth rolling action fully. Adjustment screws may also need raising to eliminate dragging. Lubrication after replacement ensures long-lasting glide.
2. How do I know if my rollers need replacement?
Rollers feel rough, make grinding noises, or cause visible flat spots on wheels. The door drags or requires excessive force to move. Tilted panels scraping the track indicate severe wear. Inspect by removing the panel for close examination.
3. Can I fix drafts without replacing the entire door?
Yes—replacing worn weatherstripping and threshold sweeps usually eliminates most drafts. Caulk any frame gaps with exterior sealant. Adjust rollers for better seal compression. These targeted fixes improve energy efficiency quickly.
4. How difficult is it to replace sliding door rollers myself?
Medium difficulty—requires removing the heavy panel safely and accessing adjustment screws. Follow manufacturer instructions for your model. New rollers install easily once the old ones are removed. Test adjustments carefully for even operation.
5. What lubricant should I use on sliding door tracks and rollers?
Use silicone-based spray lubricant specifically labeled for doors and windows. Avoid petroleum-based products or WD-40 that attract dirt. Apply lightly to prevent buildup. Reapply twice yearly for best performance.
6. Why is my sliding door hard to lock or unlock?
Stiff multi-point mechanisms usually result from dried lubricant or minor misalignment. Lubricate all moving parts thoroughly. Adjust rollers so the door aligns properly with strike plates. Replace worn handles if internal parts feel damaged.
7. How can I stop my sliding door from rattling when closed?
Tighten all loose screws in handles, frames, and tracks first. Adjust rollers to increase slight pressure against weatherstripping. Install anti-rattle bumpers or shims if needed. Proper alignment and seal contact eliminate most vibration.
8. Is it safe to remove a heavy sliding glass door panel alone?
Not recommended—panels weigh 60–100 pounds or more. Have a helper support the weight during removal and reinstallation. Tilt inward carefully and lift straight up from the bottom track. Use padded surfaces to protect glass and floors.
9. How often should I perform sliding door maintenance?
Clean tracks and lubricate rollers every 3–6 months depending on exposure. Inspect weather stripping and hardware annually. Tighten screws seasonally. Professional check-ups every 2–3 years catch hidden issues early.
10. When should I replace the entire sliding door instead of repairing?
Severe frame rot, broken glass, failed insulated seals, or extensive structural damage justify full replacement. Repeated repairs on very old units become uneconomical. New doors offer modern energy efficiency, security, and smooth operation. Professional assessment determines the best long-term solution.
Visit our DMV Window Repairs LLC blog to explore our residential and commercial glass services for customers in Woodbridge, VA.


