


Installing a patio door seems straightforward but small oversights often lead to major problems like leaks, drafts, difficult operation, premature seal failure, or even structural damage over time. Many homeowners underestimate the precision required for proper alignment, flashing, and sealing, resulting in costly callbacks or full replacements later. Common errors stem from rushing measurements, skipping critical preparation steps, using incorrect materials, or neglecting manufacturer guidelines entirely.
These mistakes compromise energy efficiency, allow water intrusion leading to rot and mold, create safety hazards from misaligned heavy panels, and void valuable warranties. Proper installation requires attention to detail, the right tools, adequate helpers for heavy lifting, and adherence to building codes. Learning from frequent pitfalls helps achieve professional-quality results that last for decades. This comprehensive guide highlights the most common mistakes with explanations, consequences, and proven ways to avoid them. Homeowners in Woodbridge, VA, frequently encounter these issues due to variable humidity and temperature swings that expose even minor installation flaws quickly.
Inaccurate or Incomplete Measurements
Measuring the existing opening incorrectly tops the list of installation disasters. Homeowners often measure only once or rely on old door dimensions without verifying the rough opening. Failing to check multiple points—top, middle, bottom for width and left, center, right for height—leads to doors that are too large or too small. Diagonal measurements confirming squareness get overlooked, resulting in twisted frames that bind or gap permanently. Not accounting for shim space, flooring thickness, or wall irregularities compounds errors dramatically. These measurement mistakes force awkward modifications during installation or require expensive custom orders later.
Consequences of Poor Measurements
Doors that are even 1/4 inch off create uneven gaps, allowing air and water infiltration constantly. Misaligned units stress rollers, tracks, and seals prematurely wearing them out. Energy efficiency ratings become meaningless when air leaks bypass factory seals. Warranty claims get denied when installers discover non-standard sizing issues. Correcting these problems mid-project wastes time, materials, and often requires professional intervention.
How to Measure Properly
Always measure the rough opening at least three times horizontally and vertically using the smallest dimension. Check diagonals ensuring they match within 1/8 inch for square. Measure jamb depth, verifying compatibility with wall thickness. Record figures clearly and double-check against manufacturer specifications. Use a reliable tape measure and level throughout the process. Precise measurements eliminate most fit-related headaches before installation begins.
Skipping or Improper Rough Opening Preparation
Rushing past rough opening inspection and repair creates foundation problems for the entire installation. Rot, insect damage, or weakened framing often goes unnoticed until water intrusion appears later. Failing to square and plumb the opening forces shimming compensations that distort the new frame over time. Inadequate structural support around headers leads to sagging or binding doors eventually. Not removing old flashing or debris leaves hidden moisture paths intact. Proper preparation ensures a stable, square base that supports long-term performance.
Common Framing Oversights
Pressure-treated lumber replacement gets skipped when rot appears minor superficially. Sister studs or reinforcements omitted in weakened areas compromise load-bearing capacity. Header deflection ignored causes gradual frame twisting, affecting operation. These framing mistakes accelerate deterioration, especially in humid environments.
Best Preparation Practices
Inspect all exposed framing thoroughly, replacing any compromised wood immediately. Reinforce weak sections with additional studs or blocking as needed. Confirm rough opening remains plumb, level, and square using long levels and string lines. Remove old caulk, flashing, and debris completely creating clean surfaces. Solid preparation prevents most long-term structural and operational issues.
Incorrect or Inadequate Flashing Installation
Flashing mistakes allow water to bypass seals entering wall cavities or interior spaces. Homeowners frequently install flashing tape backward or skip overlapping shingle-style application. Sill pans get omitted or installed without positive slope directing water outward. Not extending flashing up jambs sufficiently leaves vulnerable corners exposed. Taping seams incompletely creates direct water entry points. Proper flashing creates a continuous drainage plane protecting the entire rough opening.
Typical Flashing Errors
Self-adhered membrane applied without primer loses adhesion over time. Corners cut instead of folded properly create weak points prone to failure. Flashing terminated below grade allows ground moisture wicking upward. These errors cause hidden leaks that damage insulation, drywall, and flooring extensively.
Correct Flashing Techniques
Install preformed sill pan with positive outward slope first. Apply flexible self-adhered flashing tape overlapping shingle-style starting from bottom upward. Extend jamb flashing minimum 9 inches up sides and integrate with house wrap. Seal all seams and corners meticulously using compatible sealant. Quality flashing prevents water intrusion even during severe weather events.
Improper Shimming and Leveling
Inadequate or uneven shimming distorts the door frame leading to binding, poor seal compression, and operational difficulties. Homeowners often over-shim one side compensating for out-of-plumb conditions instead of correcting the opening. Skipping shims behind every fastener point allows frame flexing under load. Not checking plumb and level after each shim adjustment creates cumulative errors. Proper shimming maintains factory squareness and alignment throughout the installation.
Shimming Mistakes and Effects
Shims placed only at corners leave mid-span unsupported causing bowing. Composite shims not used in wet areas deteriorate over time. Over-tightening fasteners crushes shims distorting jambs permanently. These issues create uneven roller pressure accelerating wear dramatically.
Proper Shimming Methods
Insert cedar or composite shims behind hinge points, strike plates, and mid-jamb locations. Check plumb and level repeatedly adjusting shims incrementally. Use pairs of opposing shims creating flat surfaces for fasteners. Secure frame before final tightening preventing shift. Precise shimming ensures smooth operation and even weatherstripping contact.
Using Wrong Fasteners or Securing Incorrectly
- Incorrect fastener selection or placement compromises structural integrity and weather performance.
- Homeowners frequently use interior-rated screws outdoors leading to corrosion failure.
- Over-driving fasteners distorts frames while under-driving leaves units loose.
- Skipping pre-drilling causes splitting in wood frames or stripping in vinyl.
- Not following manufacturer fastener spacing guidelines creates weak points.
- Proper fastening secures the door against wind loads and daily use reliably.
Fastener-Related Problems
Galvanized or coated screws not used allow rust staining and weakening. Fasteners placed too close to edges crack jambs over time. Missing fasteners at critical points reduces wind resistance significantly. These errors void warranties and create safety concerns.
Recommended Fastening Practices
Use corrosion-resistant exterior-rated screws matching manufacturer specifications. Pre-drill pilot holes preventing splitting or stripping. Space fasteners evenly per instructions typically every 12–16 inches. Tighten securely without over-compressing frame materials. Correct fastening maintains alignment and structural performance long-term.
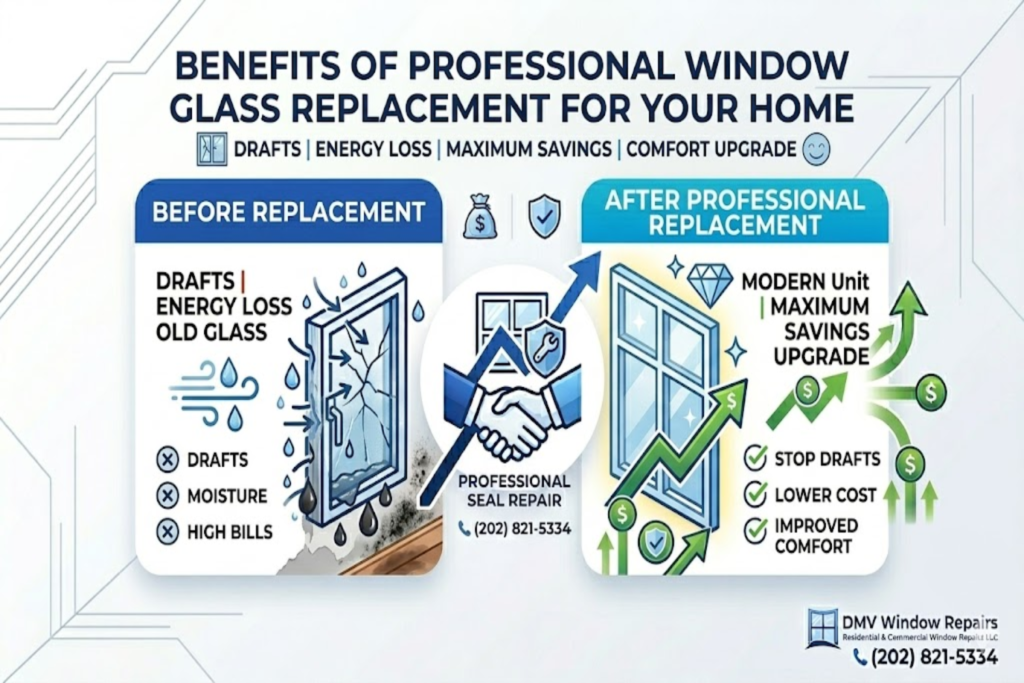
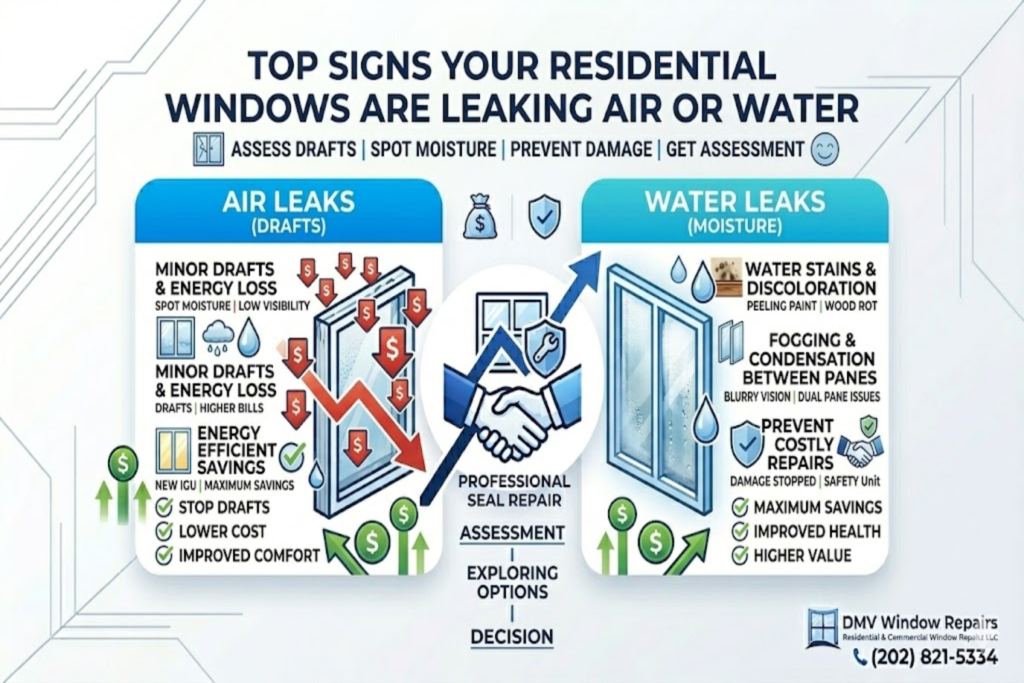
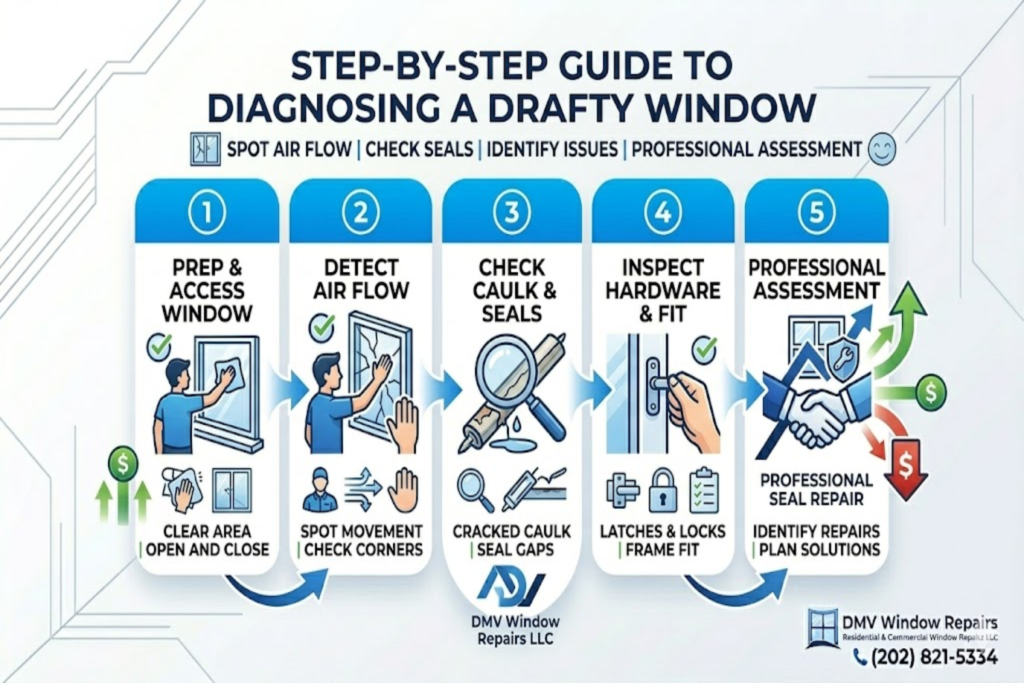
Neglecting Proper Sealing and Insulation
Inadequate perimeter sealing allows air bypass and moisture intrusion despite good flashing. Homeowners often use expanding foam excessively distorting frames or insufficiently leaving voids. Exterior caulk applied too thinly or improperly tooled fails to shed water. Interior insulation gaps create thermal bridges reducing efficiency. Comprehensive sealing maximizes energy performance and prevents condensation issues.
Sealing Common Errors
Low-quality caulk cracking over temperature cycles allows leaks. Foam over-expanded crushing weatherstripping reducing compression. Missing interior air sealing permits drafts and humidity migration. These oversights undermine factory efficiency ratings noticeably.
Effective Sealing Techniques
Apply continuous bead of exterior-grade silicone caulk along all joints. Tool caulk creating concave profile for water shedding. Fill jamb cavities with low-expansion foam avoiding distortion. Seal interior gaps with acoustic sealant preventing air bypass. Quality sealing eliminates drafts and enhances overall comfort.
Costly Mistakes Summary Table
| Mistake Number | Common Installation Mistake | Typical Consequences | Estimated Extra Cost to Fix | Prevention Difficulty | Long-Term Impact Severity |
| 1 | Inaccurate rough opening measurements | Poor fit, binding, gaps, warranty denial | $500–$2,000 | Medium | High |
| 2 | Skipping rough opening inspection/repair | Rot progression, structural failure, mold | $1,000–$5,000+ | Low | Very High |
| 3 | Incorrect flashing/sill pan installation | Water intrusion, hidden leaks, wall damage | $800–$4,000 | Medium | Very High |
| 4 | Improper shimming and leveling | Door binding, uneven wear, seal failure | $400–$1,500 | Medium | High |
| 5 | Wrong fasteners or improper securing | Loose frame, wind damage, corrosion | $300–$1,200 | Low | Medium-High |
| 6 | Inadequate perimeter sealing/insulation | Air leaks, higher bills, condensation | $200–$1,000 | Medium | High |
| 7 | Not following manufacturer instructions | Warranty voided, improper function | $500–$3,000 | Low | High |
| 8 | Rushing heavy panel installation without help | Personal injury, glass breakage, frame damage | $1,000–$4,000 | High | Very High |
Why These Mistakes Are So Expensive to Correct
Many installation errors remain hidden until first heavy rain, winter freeze, or high winds expose them dramatically. Water damage repairs involve drywall removal, mold remediation, insulation replacement, and structural fixes compounding costs quickly. Energy inefficiency from leaks adds hundreds annually to utility bills. Warranty denials force homeowners to cover full replacement expenses. Professional correction often requires partial demolition increasing labor significantly. Preventing mistakes upfront saves far more than fixing them later.
Safety Risks During Installation
Heavy tempered glass panels pose serious injury hazards when mishandled. Dropping doors causes severe lacerations or crushing injuries. Working without proper lifting techniques strains backs permanently. Improper ladder use leads to falls during upper flashing application. Rushing removal creates sharp debris hazards. Safety gear, helpers, and proper techniques eliminate most risks effectively.
Tools That Prevent Common Mistakes
Laser levels ensure precise plumb and square alignment consistently. Torque screwdrivers prevent over-tightening fasteners damaging frames. Moisture meters detect hidden rot before installation begins. Quality shims and spacers maintain consistent gaps accurately. Investing in proper tools reduces human error dramatically. Reliable equipment delivers professional results reliably.
When to Call Professionals Instead
Large multi-panel systems exceed typical DIY lifting capabilities safely. Structural modifications or non-standard openings require engineering knowledge. Warranty preservation often mandates certified installation. Time constraints or lack of experience justify professional service. Pros deliver code-compliant results with proper tools consistently. In Woodbridge VA, experienced installers avoid these common pitfalls efficiently.
Post-Installation Testing Checklist
Operate door fully multiple times checking smooth action. Verify lock engagement without excessive force. Inspect perimeter for even weatherstripping compression. Test during rain observing no water entry. Check for light leaks around edges at night. Document performance for warranty purposes. Thorough testing confirms successful installation.
Long-Term Benefits of Avoiding Mistakes
Proper installation maximizes energy savings through reduced air leakage. Doors operate smoothly with minimal maintenance needs. Structural integrity preserved preventing premature failure. Home value increases with quality upgrades visible to buyers. Peace of mind comes from leak-free, efficient performance. Avoiding mistakes delivers lasting satisfaction and reliability.
Conclusion
Common patio door installation mistakes often stem from haste, inadequate preparation, or skipping critical steps that seem minor initially. Inaccurate measurements, poor flashing, improper shimming, wrong fasteners, and insufficient sealing create cascading problems affecting comfort, efficiency, and structural health. Understanding these frequent errors with their consequences and proven prevention methods empowers homeowners to achieve professional results.
Investing time in proper techniques, quality materials, and careful execution prevents expensive corrections later. Whether DIY or professional, avoiding these pitfalls ensures your patio door performs reliably for decades. In Woodbridge VA, careful installation protects against seasonal challenges delivering maximum value and comfort.
Frequently Asked Questions
- What is the single most common patio door installation mistake homeowners make?
Inaccurate rough opening measurements top the list consistently. Failing to measure multiple points or check squareness leads to fit problems immediately. This error forces awkward adjustments or complete reordering wasting time and money. Always measure carefully and verify against manufacturer specs.
- Can improper flashing really cause major damage years after installation?
Yes, poor flashing allows water to enter wall cavities undetected for years. This leads to rot, mold growth, insulation failure, and structural weakening. Damage often surfaces only during renovations or after severe weather events. Correct flashing prevents these hidden costly issues effectively.
- How much extra does it cost to fix a badly shimmed patio door?
Correction typically ranges from $400 to $1,500 depending on severity. Re-shimming alone stays lower but distorted frames may require partial removal and reinstallation. Energy losses from gaps add ongoing utility costs. Proper initial shimming avoids these expenses completely.
- Why do warranties get denied so often after DIY patio door installation?
Manufacturers require adherence to specific guidelines including measurements, flashing, fastening, and sealing. Deviations like improper shimming or missing sill pans void coverage. Professional certified installation preserves warranty validity reliably. Following instructions exactly protects your investment.
- Is it really necessary to use a sill pan with every patio door replacement?
Yes, sill pans direct incidental water outward preventing interior leaks reliably. Modern codes often require them especially in exposed locations. Skipping pans risks threshold rot and flooring damage over time. Quality sill pans provide essential moisture protection.
- How do I check if my installed patio door is properly leveled and plumb?
Use a 4-foot level checking all jambs vertically and horizontally. Measure diagonals ensuring they match within 1/8 inch confirming squareness. Test door operation across full range without binding. Re-check after securing fasteners maintaining alignment. Proper leveling ensures smooth long-term function.
- What happens if I over-tighten screws during patio door installation?
Over-tightening crushes shims and distorts vinyl or fiberglass frames permanently. This creates binding, poor seal compression, and uneven operation. Fasteners may strip or pull through weakening attachment points. Use moderate torque and check alignment frequently during fastening.
- Can I install a patio door alone without any helpers safely?
Large doors weighing 100–200 pounds pose serious injury risks without assistance. Solo installation increases chances of dropping panels causing breakage or strain injuries. At minimum use lifting straps or mechanical aids. Helpers make the process safer and more precise.
- How soon after installation should I test for leaks and drafts?
Perform initial checks immediately after completion using hand tests for air movement. Monitor during first rain event observing water behavior carefully. Check for condensation patterns after first cold snap. Early testing identifies minor adjustments needed before problems worsen.
- Are there any mistakes that make a patio door completely unsafe to use?
Improper fastening allowing door to become loose in high winds creates detachment hazards. Severely misaligned heavy panels risk falling outward injuring users. Structural damage from poor framing compromises wind resistance significantly. These critical errors require immediate professional correction. In Woodbridge VA, avoiding these safety mistakes ensures reliable performance through seasonal storms.
Visit our DMV Window Repairs LLC blog to explore our residential and commercial glass services for customers in Woodbridge, VA.
